This wiki has undergone a migration to Confluence found Here
Difference between revisions of "VocApp-Tutorial"
Jump to navigation
Jump to search
| Line 1: | Line 1: | ||
===Introduction=== | ===Introduction=== | ||
| − | + | This is a '''Do It Yourself - Step-by-Step''' exercise that leads you through the steps necessary to | |
| − | + | *[[#Startup|Start the application]] and load the vocabulary;, | |
| − | In this | + | *[[#Create_Header|Create a change proposal]]; |
| + | *[[#Add_Code_Change|Define the change]]; | ||
| + | *[[#Apply_Changes|Apply the changes to the data base]]; | ||
| + | *[[#Review_Results|See the results]]; and | ||
| + | *[[#Remove_Changes|Undo the changes]] | ||
| + | ====Requirements==== | ||
| + | In order to do this exercise, you will need: | ||
| + | *to have [[Harmonization_Editor_Manual_%28Installation%29|installed the application]] and | ||
| + | *a [[Installing_and_Configuring_HL7_Tools#Design_Repository|design repository]] with the vocabulary content available. | ||
| + | ====Tutorial layout==== | ||
| + | In this exercise: | ||
| + | *Each step is defined by '''text on the left''' and a resulting '''"screen-shot" on the right''' | ||
| + | *The text includes a '''short title''' followed by a '''numbered sequence of instructions''' or comments. | ||
| + | *Where the instructions require text to be entered into a form, the text is usually shown on the '''''screen shot''''' rather than in the instructions. | ||
| + | *The '''result of the step''' is the screen-shot shown to the immediate right of the instructions. | ||
| + | *When you execute the step, your application (or a portion of it) should be '''similar but not identical''' to the screen shot. | ||
| + | *''because of the instructions-left/results/right pairing, several of the instruction sequences start with a phrase like "Press '''SomeButton''' (on previous screen)" | ||
| + | *:That is, the button or control to be selected is shown on the previous screen shot.'' | ||
| + | ===Startup=== | ||
===Create Header=== | ===Create Header=== | ||
| − | === | + | ===Add Code=== |
===Review Proposal=== | ===Review Proposal=== | ||
===Apply Changes=== | ===Apply Changes=== | ||
| Line 143: | Line 161: | ||
#Click '''OK''' ''(on previous screen)'' | #Click '''OK''' ''(on previous screen)'' | ||
#Select '''Menu...File...Exit''' | #Select '''Menu...File...Exit''' | ||
| − | | style="text-align:center" |<big>'''HERE ENDETH THE | + | | style="text-align:center" |<big>'''HERE ENDETH THE LESSON'''</big> |
|} | |} | ||
Revision as of 15:03, 3 October 2007
Contents
Introduction
This is a Do It Yourself - Step-by-Step exercise that leads you through the steps necessary to
- Start the application and load the vocabulary;,
- Create a change proposal;
- Define the change;
- Apply the changes to the data base;
- See the results; and
- Undo the changes
Requirements
In order to do this exercise, you will need:
- to have installed the application and
- a design repository with the vocabulary content available.
Tutorial layout
In this exercise:
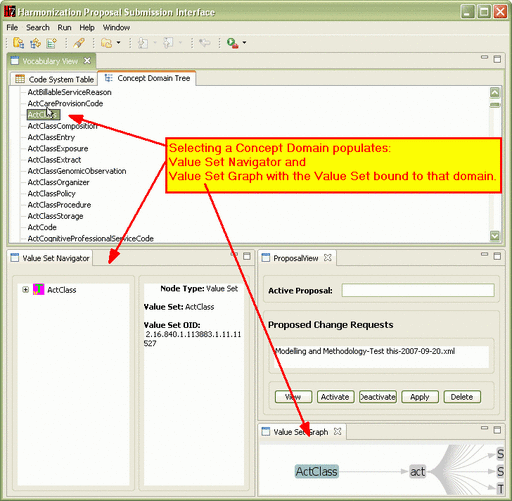
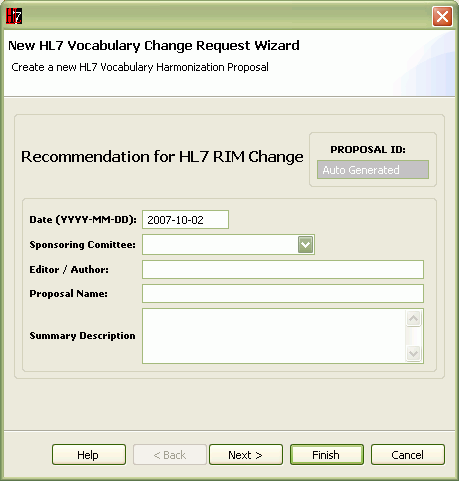
- Each step is defined by text on the left and a resulting "screen-shot" on the right
- The text includes a short title followed by a numbered sequence of instructions or comments.
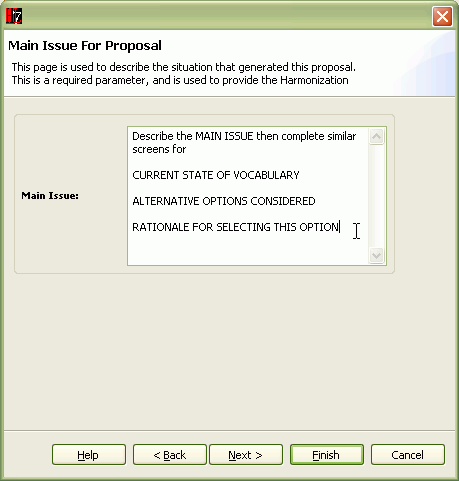
- Where the instructions require text to be entered into a form, the text is usually shown on the screen shot rather than in the instructions.
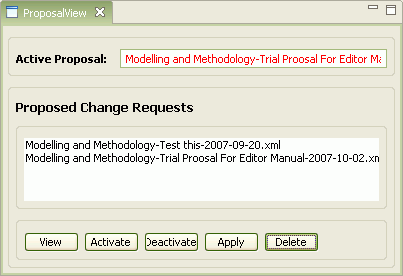
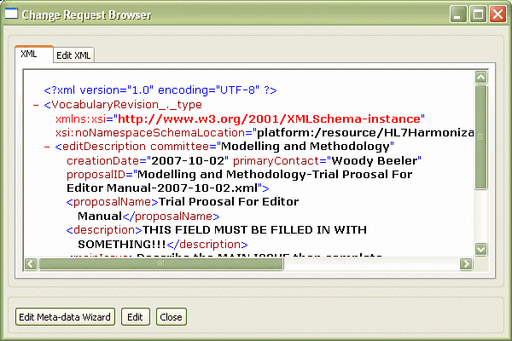
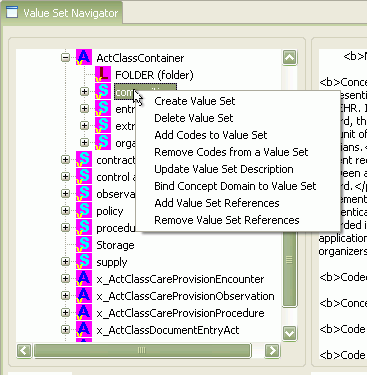
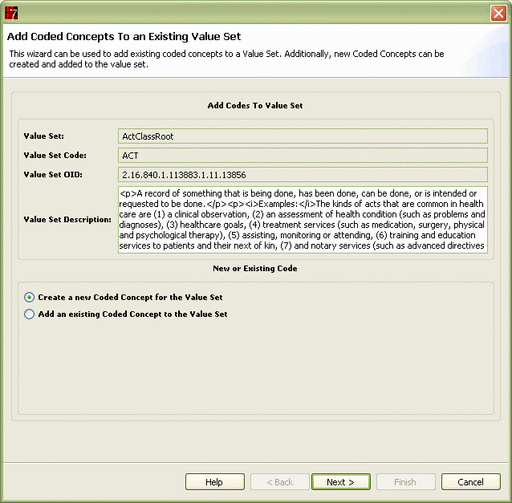
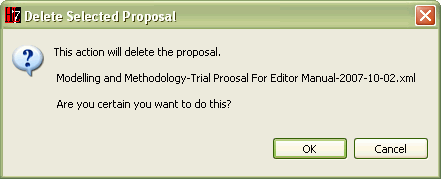
- The result of the step is the screen-shot shown to the immediate right of the instructions.
- When you execute the step, your application (or a portion of it) should be similar but not identical to the screen shot.
- because of the instructions-left/results/right pairing, several of the instruction sequences start with a phrase like "Press SomeButton (on previous screen)"
- That is, the button or control to be selected is shown on the previous screen shot.
Startup
Create Header
Add Code
Review Proposal
Apply Changes
Review Results
Remove Changes
|
|
|
|
|
|
|
|
|
|
|
|
|
|
|
|
|
|
|
|
|
|
|
|
|
|
|
|
|
|
|
|
|
|
|
|
|
|
|
|
|
HERE ENDETH THE LESSON |


