Difference between revisions of "VocApp-Install"
| Line 6: | Line 6: | ||
To find and install the latest Java runtime environment (JRE) see the [[Installing_and_Configuring_HL7_Tools#Java_Platform|'''installation instructions''']] in the reference file. | To find and install the latest Java runtime environment (JRE) see the [[Installing_and_Configuring_HL7_Tools#Java_Platform|'''installation instructions''']] in the reference file. | ||
===Install Application=== | ===Install Application=== | ||
| − | The basic [[Installing_and_Configuring_HL7_Tools#Harmonization_.28Vocabulary.29_Tool|'''installation instructions''']] are found in the installation resource file, but that file does not show the selection screens that appear as the installation proceeds. | + | The basic [[Installing_and_Configuring_HL7_Tools#Harmonization_.28Vocabulary.29_Tool|'''installation instructions''']] are found in the installation resource file, but that file does not show the selection screens that appear as the installation proceeds. Omce the user ''''''double-clicks''''' the self-installing JAR file, the installation dialog windows appear in the following sequence. The captions identify the screen shot, and some figueres have textual comments below them. |
[[Image:VocAppInstall-010.gif|thumb|center|320px|Installer splash screen]] | [[Image:VocAppInstall-010.gif|thumb|center|320px|Installer splash screen]] | ||
{| align=center | {| align=center | ||
| Line 27: | Line 27: | ||
| [[Image:VocAppInstall-041.gif|thumb|center|384px|Installer packaging options]] | | [[Image:VocAppInstall-041.gif|thumb|center|384px|Installer packaging options]] | ||
| [[Image:VocAppInstall-043.gif|thumb|center|384px|Installer Progress screen]] | | [[Image:VocAppInstall-043.gif|thumb|center|384px|Installer Progress screen]] | ||
| + | |- | ||
| + | | | ||
| + | | Once the installation progress is complete, the '''Next''' button will be enabled.<br/> | ||
|- | |- | ||
| [[Image:VocAppInstall-045.gif|thumb|center|384px|Installer Shortcut options]] | | [[Image:VocAppInstall-045.gif|thumb|center|384px|Installer Shortcut options]] | ||
Revision as of 19:46, 1 October 2007
Installation
In general, the installation of HL7 applications, and the preparation of the underlying operating environment is documented by the Tooling Committee in Installing and Configuring HL7 Tools. This section of the application manual simply points out the steps and then links to the relevant sections of Installing and Configuring HL7 Tools.
Install Java Runtime
The Harmonization Editor is a Java-based tool that executes in the Eclipse platform. However, the Eclipse platform does not need to be installed as the Harmonization Editor installer installs a "runtime" version of the platform.
To find and install the latest Java runtime environment (JRE) see the installation instructions in the reference file.
Install Application
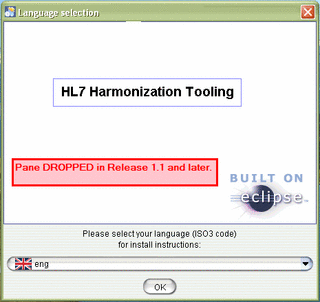
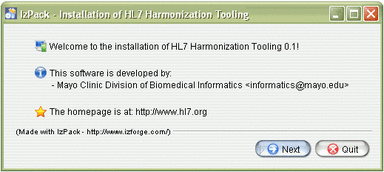
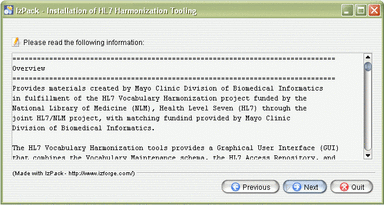
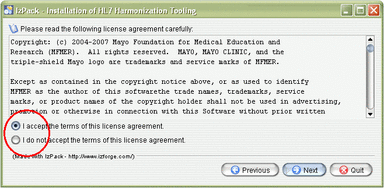
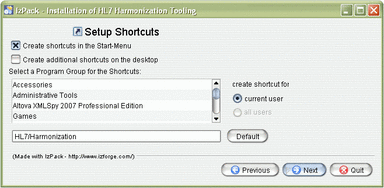
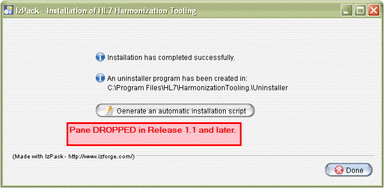
The basic installation instructions are found in the installation resource file, but that file does not show the selection screens that appear as the installation proceeds. Omce the user 'double-clicks the self-installing JAR file, the installation dialog windows appear in the following sequence. The captions identify the screen shot, and some figueres have textual comments below them.
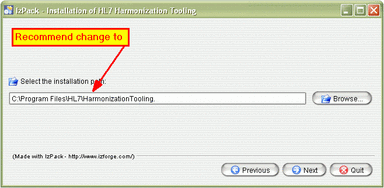
| Select "I agree..." radio button to enable "Next" button. | Note recommend change to C:\Program files\HL7\Harmonization tooling |
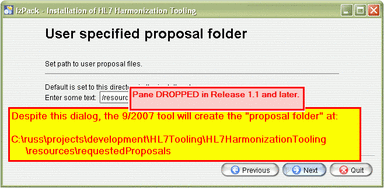
Note Regardless of this selection, proposals will be placed at:C:\russ\projects\development\HL7Tooling \HL7HarmonizationTooling\resources \requestedProposals | |
| Once the installation progress is complete, the Next button will be enabled. | |
Uninstall Application
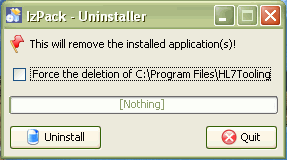
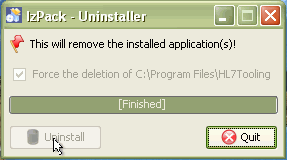
Because this application is installed with a Java JAR-self-installer, it does not appear in the Windows "Add/Remove Programs" control panel. There is however an uninstall routine that is installed along with the application. It can be activated from the Start Programs menu as shown in the following figure:
